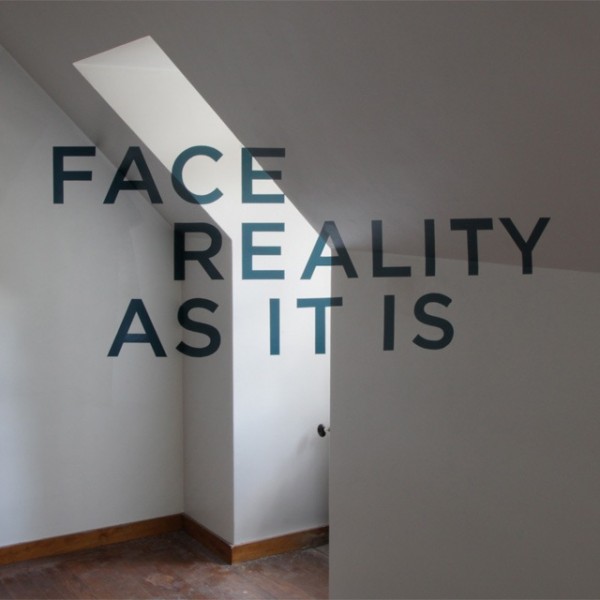
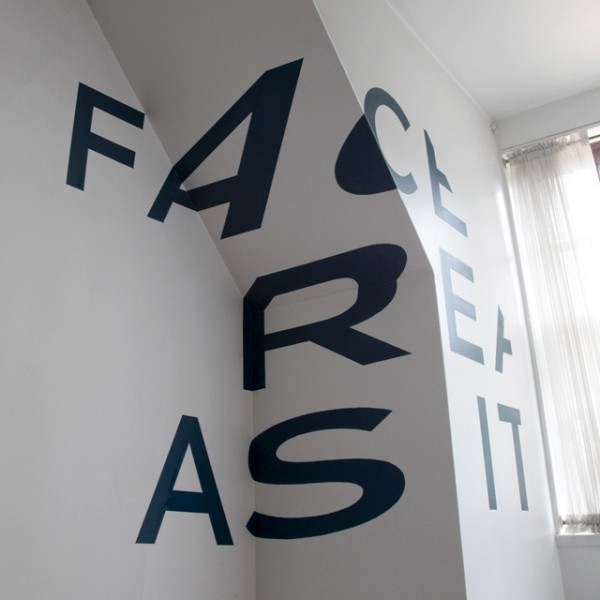
Been a busy sort of a fortnight. Zoo shoot, new job, internship, and a general update of things. Also dealing with somewhat disagreeable technology. That was fun.
Showing posts with label InDesign. Show all posts
Tuesday, 20 May 2014
Busy Bee
hello hello hello
Been a busy sort of a fortnight. Zoo shoot, new job, internship, and a general update of things. Also dealing with somewhat disagreeable technology. That was fun.
Here is some footage of Rex from the Wildlife Sydney Zoo.
Been a busy sort of a fortnight. Zoo shoot, new job, internship, and a general update of things. Also dealing with somewhat disagreeable technology. That was fun.
Thursday, 24 October 2013
Linking Madness!
Who is the idiot who decided to re-organise portfolio links? Me. 79 images renamed in new folders. See all the red question marks? Moral of the story: keep a standard naming system from the get-go!
On the upside I found an illustrator file of a typeface I created! Which means I can tailor it to my portfolio!
Friday, 7 June 2013
Update!
Along with the paintings, I'm making a pamphlet & business card. And possibly website (for the future considerations category in the marking guide...I think there is one). These are some spreads and cover ideas for the pamphlet. The cover will have black disappearing paint on the cover with orange stitching up the spine. Once people touch the pamphlet it will disappear showing a print under it. As of this moment, it will be the orange finger prints to reflect ergonomics and how people actually hold it.
These pics show how I hold the pamphlet and position the prints.
After questioning many many people about it, the handprint option is a winner.
Labels:
Concept,
Design,
Graphics,
Illustrator,
InDesign,
Info-design,
Photography,
Photoshop,
User Interface
Friday, 31 May 2013
Last Few Weeks
There are only a few weeks left until this project is finally over. There are a few developments, a few set backs and just general work needing to be done.
Here is some more stuff. I've been jumping back and forth for the final designs in thermo/acrylic paint. The categories i've narrowed the ideas into include: photo, abstract, metaphor, icon and pattern.
As the pigments of the thermo-dyes are powdered I went to the local art shop North Shore Art Supplies and bought a $30 bottle of clear medium to mix it. Hope it works well. As i still dont have the dye, and probably wont until the 13th, ive been working on how to display and make the prototype. The local $2shop is having a 40% off sale (YAY), so im going to run up to grab some large frames. On sunday im in the city helping a friend with prop design, so ill run up to Recycled Garbage too and find something great to print/paint on. Im having difficulty deciding what to print on as it needs to be heat proof and also be able to be touched repeatedly without getting ruined. So some solutions include:
- printed paper/board/card with a plastic overlay
- printed paper/board/card with a glass overlay (frame)
- printed plastic/glass
The heating element has been a bit of a head-scratcher. I was torn between using arduino to control it, but ended up ripping up an electric heating sheet. Which was not fun. Also - RE-USE!
This Sunbeam Electric Blanket was made in New Zealand with 100% Polyester. Its 250volts~1amp~100watts. The PVC plastic used in the wiring & control components is a polyvinyl chloride plastic which is used in everything from pipes, shower curtains, plastic outdoor furniture and childrens' toys. It can be recycled and re-used however it takes a crapload of time and effort to reduce it down and have it degrade. I did have to test is, as i didnt know if it still worked. It does. And heats up so damn quick.
The next couple things I need to do (start, end, middle):
- Designs & individual names
- Name the series
- Visual Identity
- Final product (life cycle analysis - materials & processes)
- Postcard type material to reflect important info for presentation
- Render vids/pics
- Timelapse vid (borrowing a friends' camera and expertise...bribe with candy)
- Possible shopping website
- Presentation visuals(pdf) & general speeching things
Labels:
COFA,
Design,
Energy Aware,
Illustrator,
InDesign,
Materials,
Photoshop,
Product,
Technology
Saturday, 11 May 2013
Open Brain Storming
After researching photochromic and thermochromatic paints and their uses I've been thinking about the final presentation...Not long now. And I want to present something other than printed materials. I came across these handmade wall decals on facebook a while back. Just a bit of corn starch or a pre-made stick and boom instant wall art or wallpaper.
pistachioproject, sewingforscarlett & curbly have some good tutorials.
While I wouldnt be allowed to paint a wall at cofa, perhaps I could stick it on and peel it off.
Crazy walls crazy walls crazy walls
Photochromatic Stuff
The museum goudA redesigned their torture chamber using UV. Illustration - Jos Verwer, and Type - Trapped in Suburbia
pistachioproject, sewingforscarlett & curbly have some good tutorials.
While I wouldnt be allowed to paint a wall at cofa, perhaps I could stick it on and peel it off.
Crazy walls crazy walls crazy walls
The museum goudA redesigned their torture chamber using UV. Illustration - Jos Verwer, and Type - Trapped in Suburbia
Internal Philips Design Metamorphosis document. The bookcover uses photochromic and thermochromic ink.
Calignosity by Andreas Pohancenik - UV Varnish and invisible UV ink screen print on ebony plike, A1
Labels:
Concept,
Design,
Illustrator,
InDesign,
Info-design,
Ink,
Product,
Technology,
Textiles,
User Interface,
Walls
Thursday, 4 October 2012
ALAPP Visual Identity, 2012
Photography Magazine, 2011
Labels:
2011,
Illustrator,
InDesign,
Magazine,
Photography,
Photoshop
Architecture Magazine, 2011
A university magazine re-designed and marketed to architecture students in order to improve communication between the two degrees.
Labels:
2011,
Illustrator,
InDesign,
Magazine,
Photography,
Photoshop
Subscribe to:
Posts (Atom)